For those who prefer the written tutorial, you can continue reading on.
To begin with mod creation, you will need to setup the modding project. For this, you will need..
- Anthro Heat
- Modding Project
- Unity Hub
- Unity Engine 2021.3.45.f2
- (Optionally) Github Desktop / Version Control Software
- (Optionally) DLL Copier
Version control is highly recommended for more complex mods such as script or character mods.
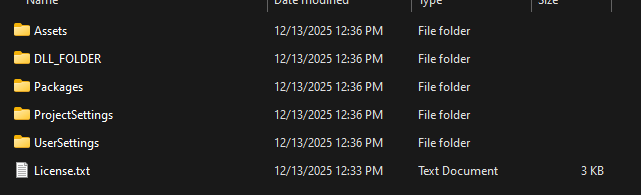
Once you have downloaded all of the required listed above we will start with the Modding Project. Unzip the modding project and open the extracted folder and from here you should see a folder named “DLL_Folder”
You'll want to open that folder and open another explorer window or tab. Navigate to your Anthro Heat install directory and open the “AnthroHeat_Data” folder.
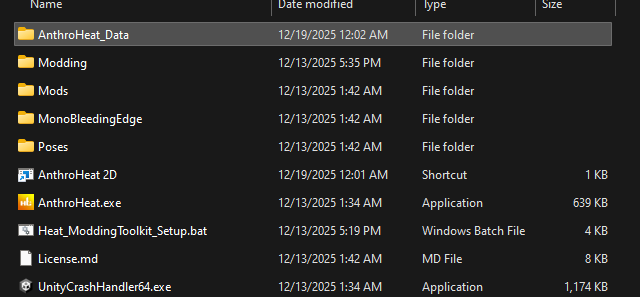
Once you've opened the folder you should see a “Managed” folder. Open that and you should see a ton of .dll files which is perfect, from here you are going to want to copy and paste the .dll files below into the “DLL_Folder” of the modding project.
- Auto.dll
- Beautify.dll
- Buttplug.dll
- Buttplug.Client.Connectors.WebsocketConnector.dll
- CW.Common.dll
- deniszykov.WebSocketListener.dll
- Eyes.dll
- Heat.OrificeCompute.Runtime.dll
- HeatSDK.Core.dll
- HeatSDK.Globals.dll
- HeatSDK.Misc.dll
- ModernUIPack.dll
- NaughtyAttributes.Core.dll
- Obi.dll
- PaintIn3D.dll
- patreonAPI.dll ***Only if using .dlls from a Patreon Build***
- Physics.dll
- RadialLayout.dll
- RootMotion.dll
- ScreenFadeVR.dll
- SteamVR.dll
- SteamVR_Actions.dll
- Unity.Collections.dll
- Unity.Collections.LowLevel.ILSupport.dll
- Unity.XR.Management.dll
- Unity.XR.OpenVR.dll
- UnityEngine.SpatialTracking.dll
- Valve.Newtonsoft.Json.dll
Verify each existing .meta file has a matching .dll file before proceeding.
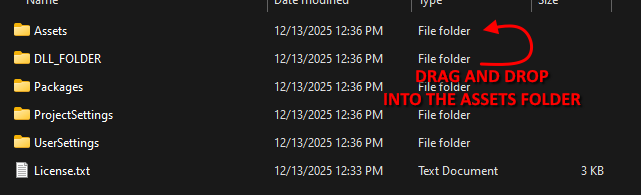
Once the DLL's have been copied and pasted into the “DLL_Folder”, you will then drag the “DLL_FOLDER” into the “Assets” folder.
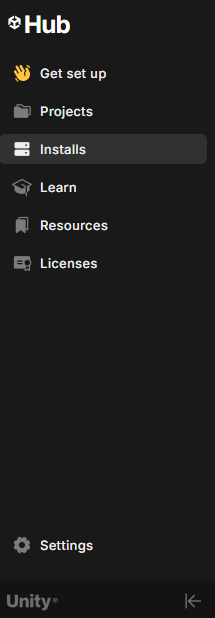
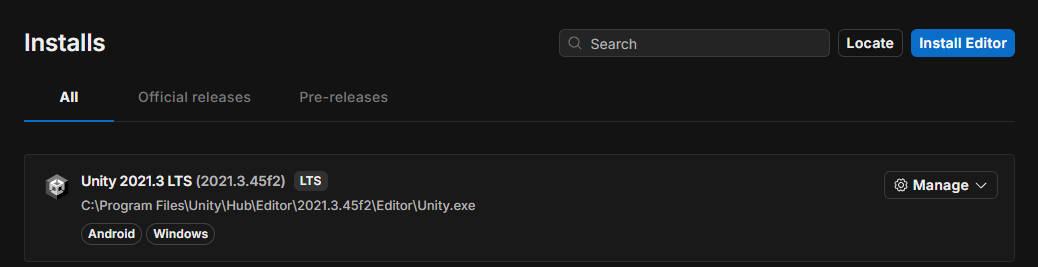
We will move on and open Unity Hub and sign into the application. Ensure the correct editor version has been installed by clicking on the “Installs” tab on the left side of the application window.
You should see your Unity editor and it should be version “2021.3.45.f2”
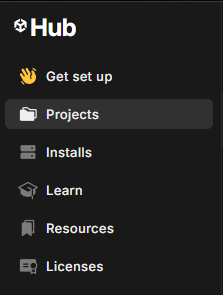
After you have confirmed you have the correct Unity version you should be able to import the current modding project. To do this you must navigate to the “Projects” tab on the left side of the application window.
Then click on the “Add” button at the top of the “Projects” tab and select “Add project from disk"

An explorer window should appear, from here you will navigate to your modding project location and select the folder.
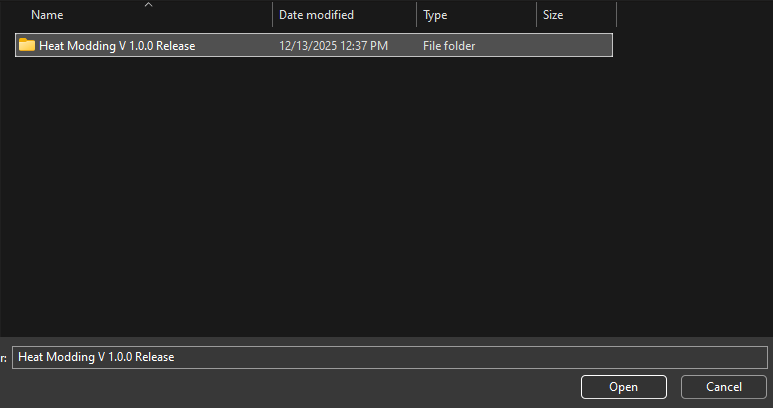
Once you have it selected, hit the “Open” button on the bottom and Unity should begin opening the project file. And congratulations, you are all set and ready to create your first mod!